A Resolve OFX plugin, right on the Color pageEffects › Open FX › THIERRY CC - drop it on a node, the panel opens on the Color page.
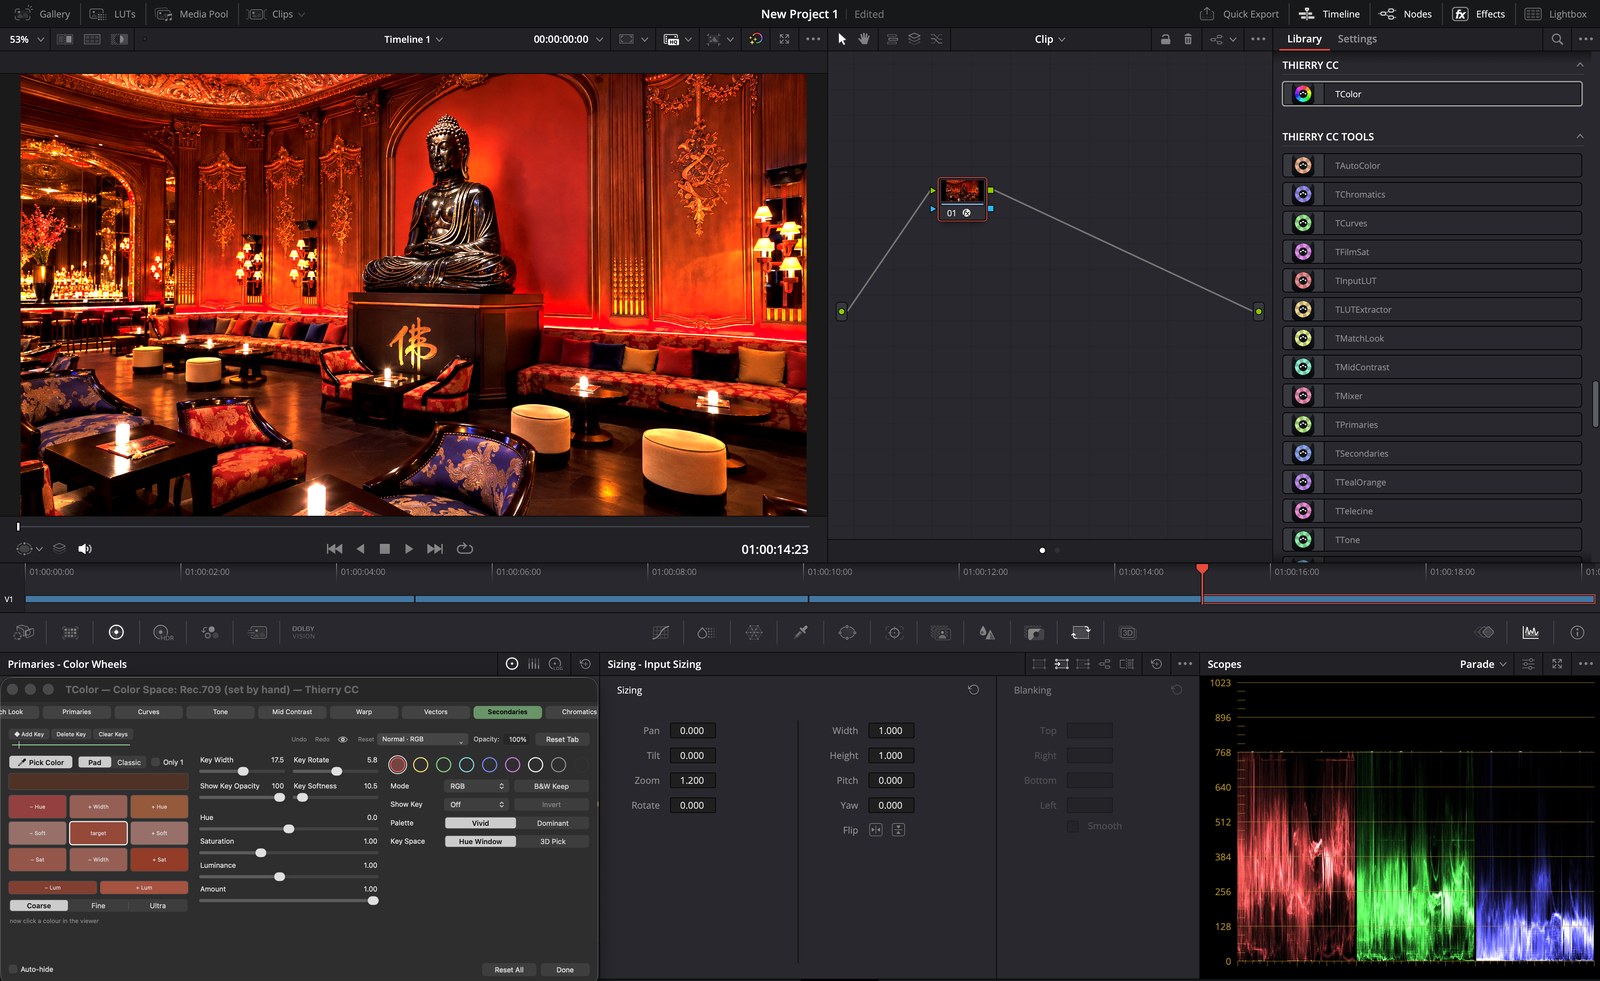
A DaVinci Resolve plugin (OFX) for colorists, editors, DPs and directors
Resolve is built for a grading panel. Thierry CC has its own colour maths, made for a mouse or trackpad - precise results in the suite, at home or on the way to set.
Its own colour maths, made for a mouse or trackpad. Pro results, no control surface. Works with Resolve's color management.
Click your image, type the value. Compare light, cameras, lenses.
Analogue-era tools rebuilt in digital: color separation, Warp, Vectors and Secondaries - plus CC by numbers with Curves.
Correct, ±1 and ±2 stops - from your camera's log to Rec.709.
Drop TColor on a node. Tick Open TColor UI in the Inspector.
Set it once per node (DWG, Rec.709, ACEScct…). Match Resolve (once) copies your project's timeline space. It never changes when you change clips.
Each tab is one tool. Tabs run left to right, like nodes in a row. Every tab is also its own plugin: TCurves, TPrimaries…
Every tab has its own blend mode, colour mode and opacity.
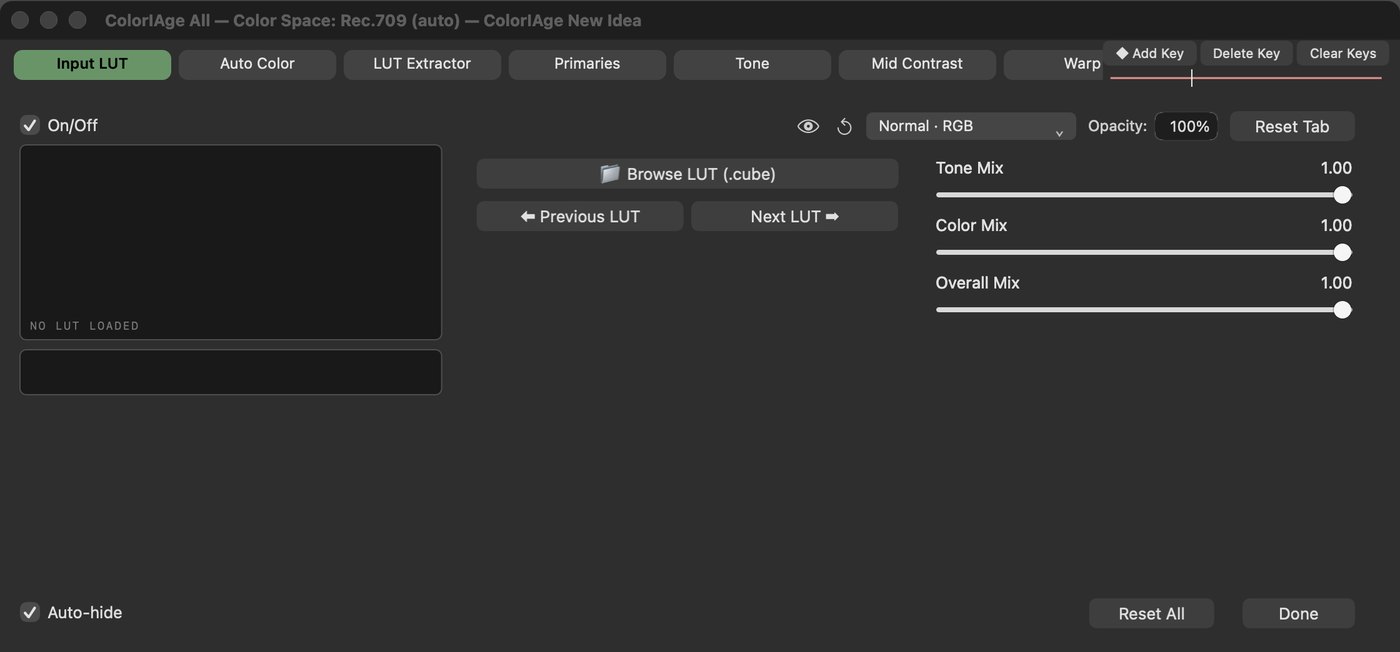
Loads a .cube LUT as the first step of the grade.
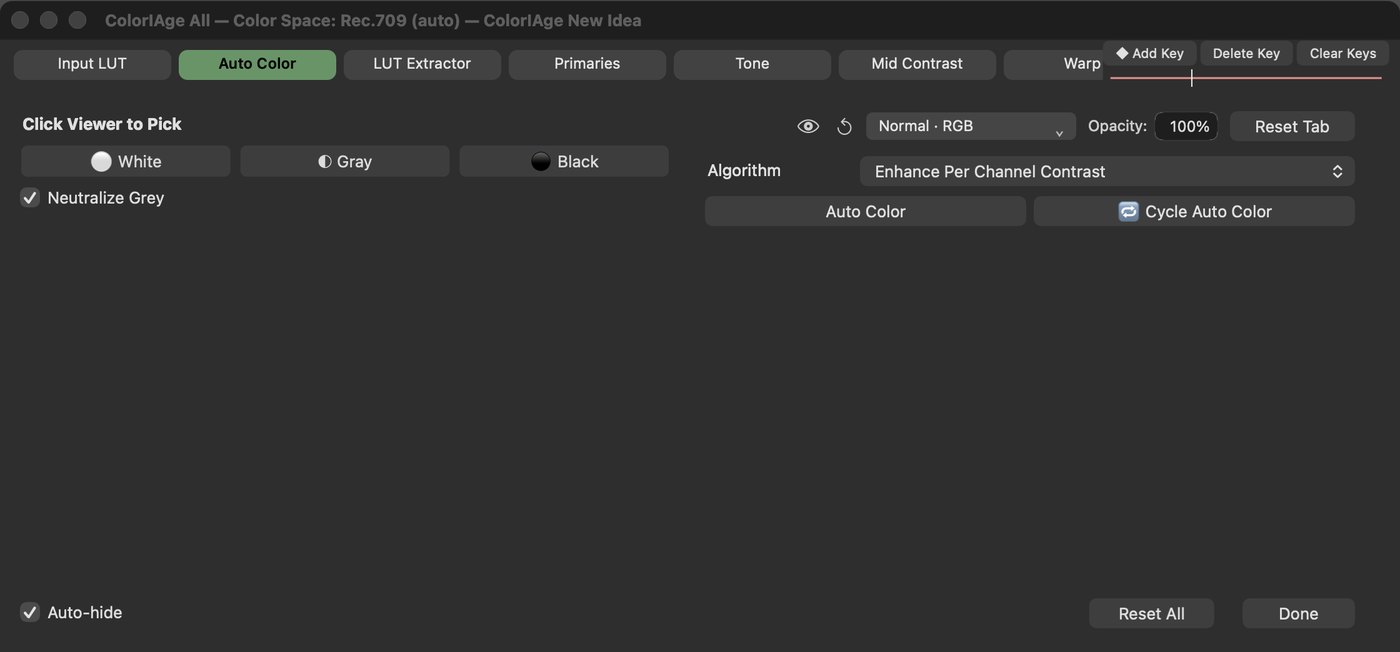
Balances the shot for you, or from points you pick.
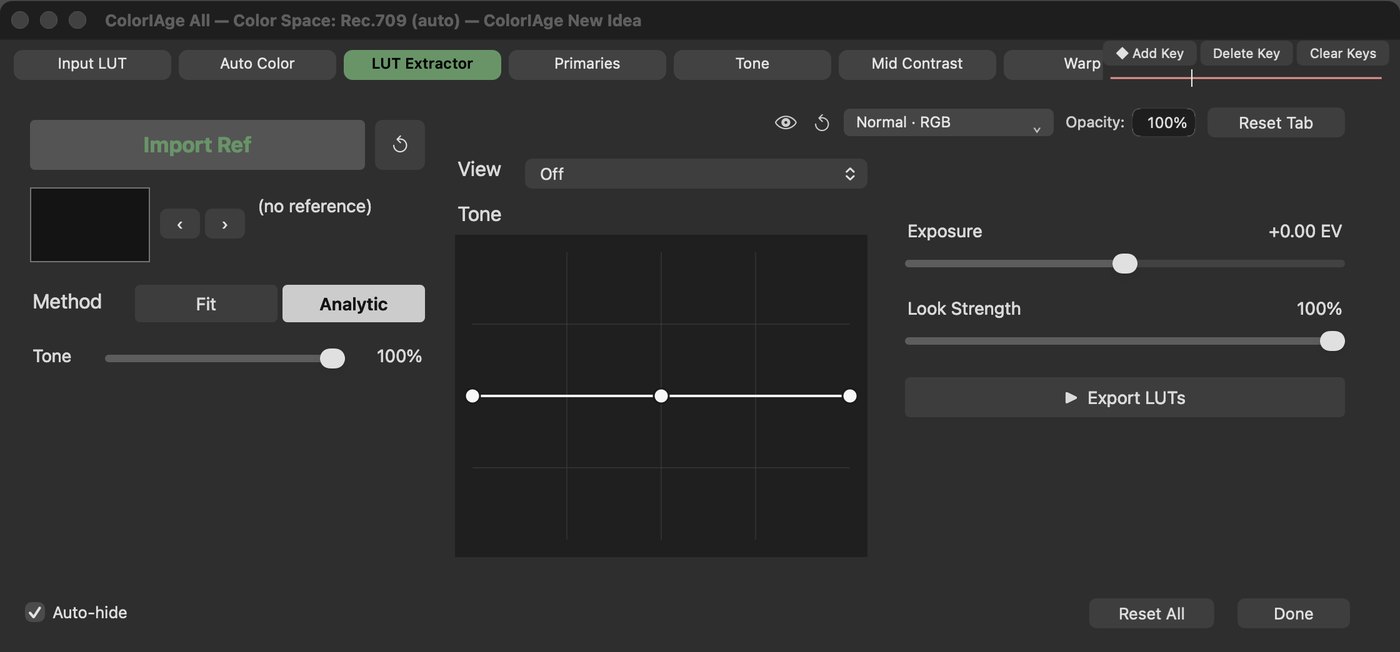
Take the look of a still and apply it - or export it.
Match the look of a reference still - as sliders you keep adjusting (the LUT Extractor makes a fixed LUT instead).
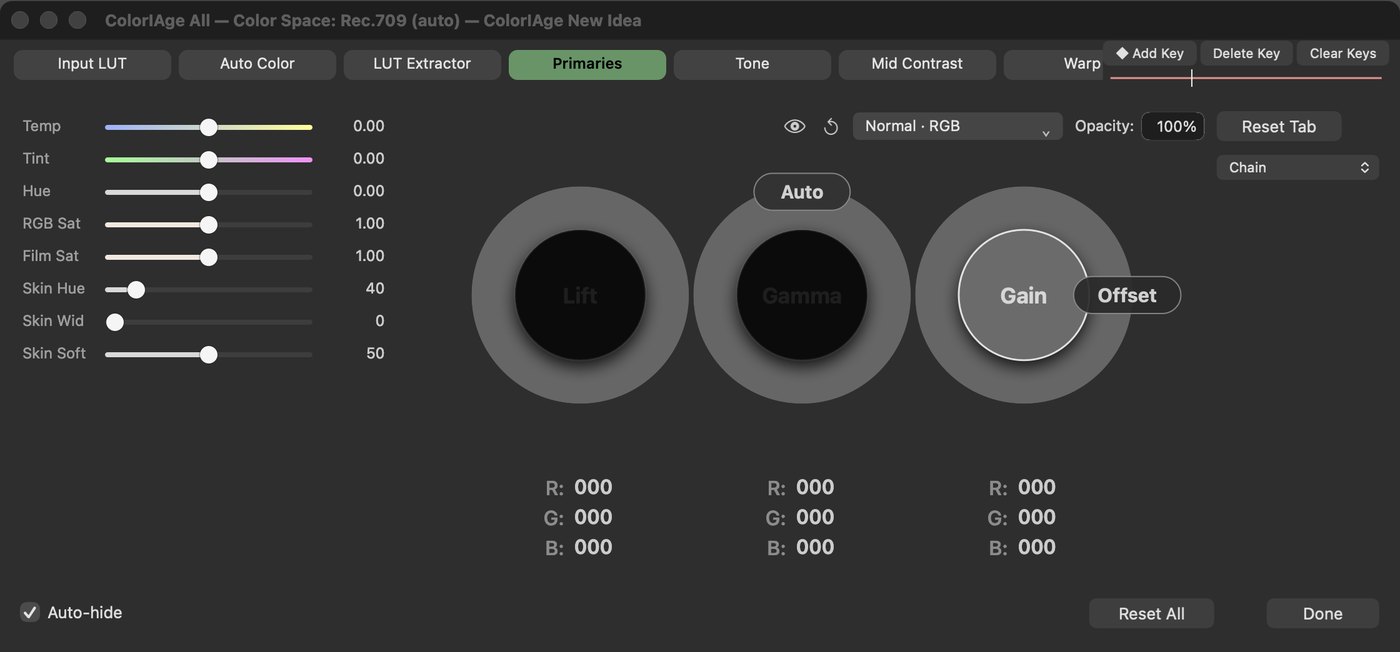
The colour wheels and white balance.
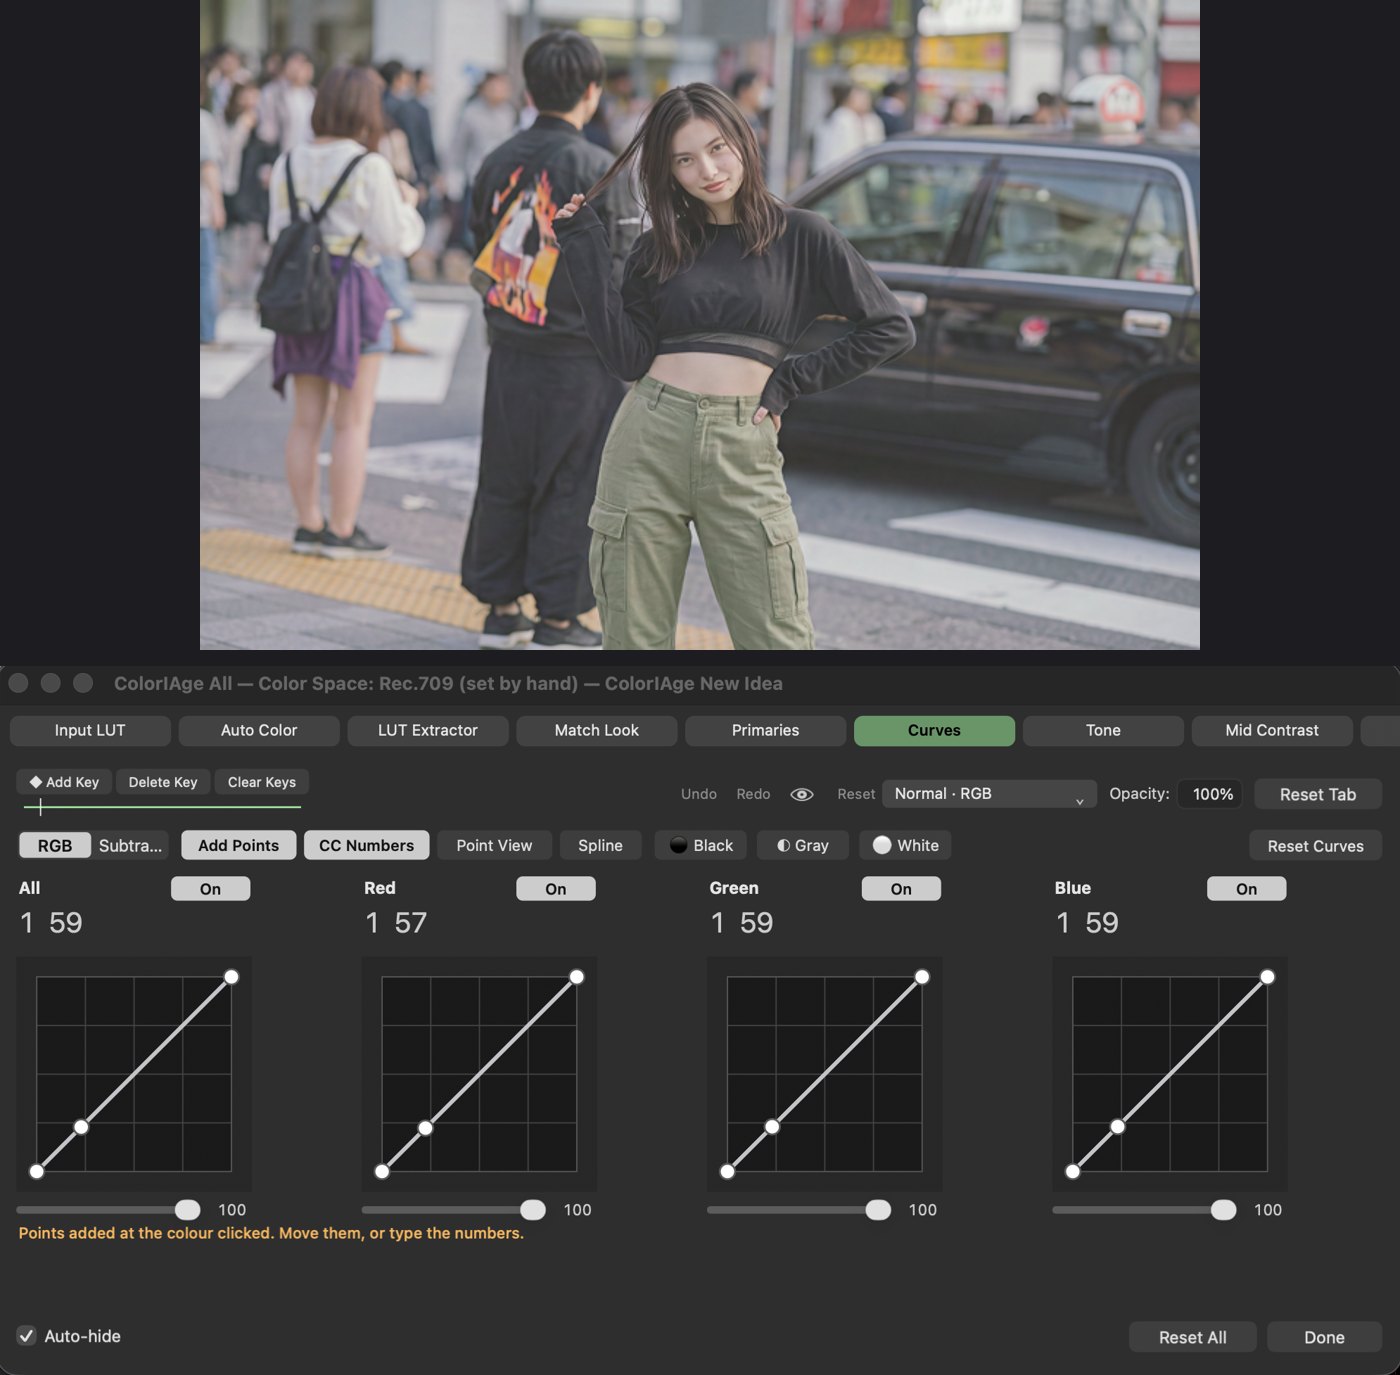
Tone curves with exact numbers.
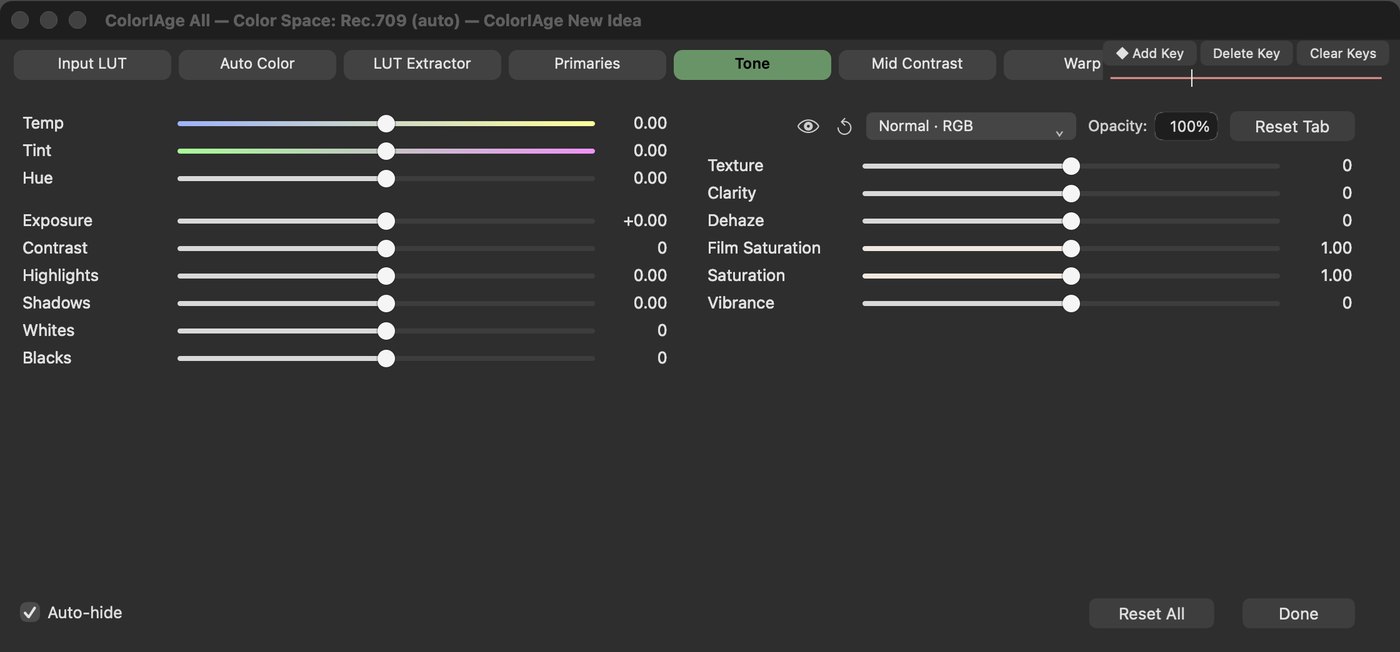
Light and presence.
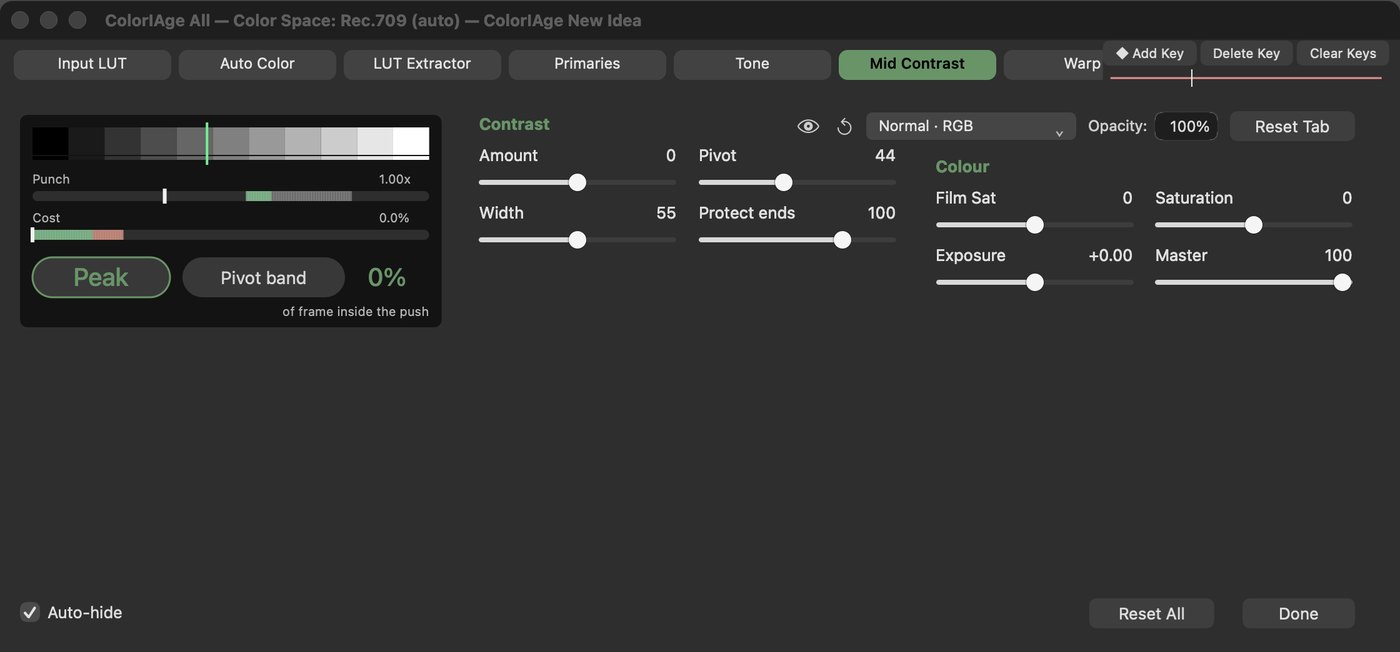
Contrast in the mids only; the ends stay put.
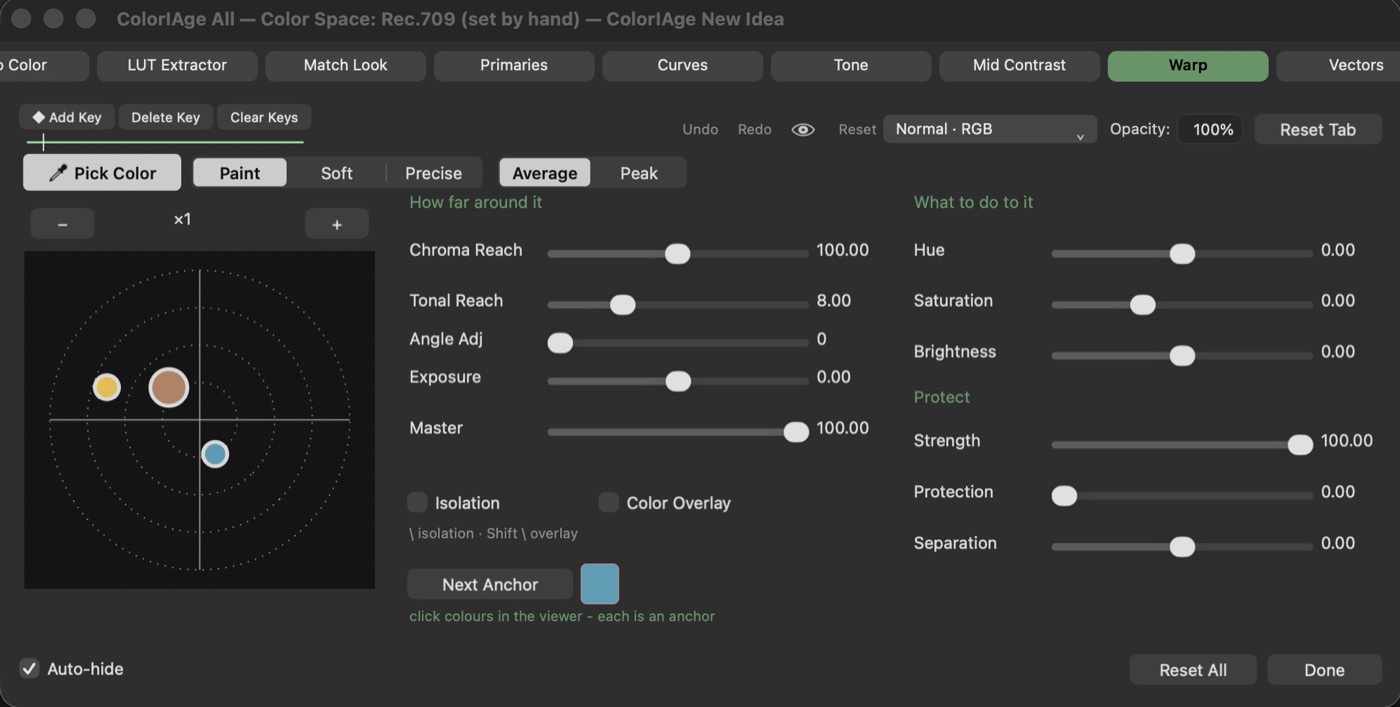
Pick a colour in the viewer and move it on the colour wheel.
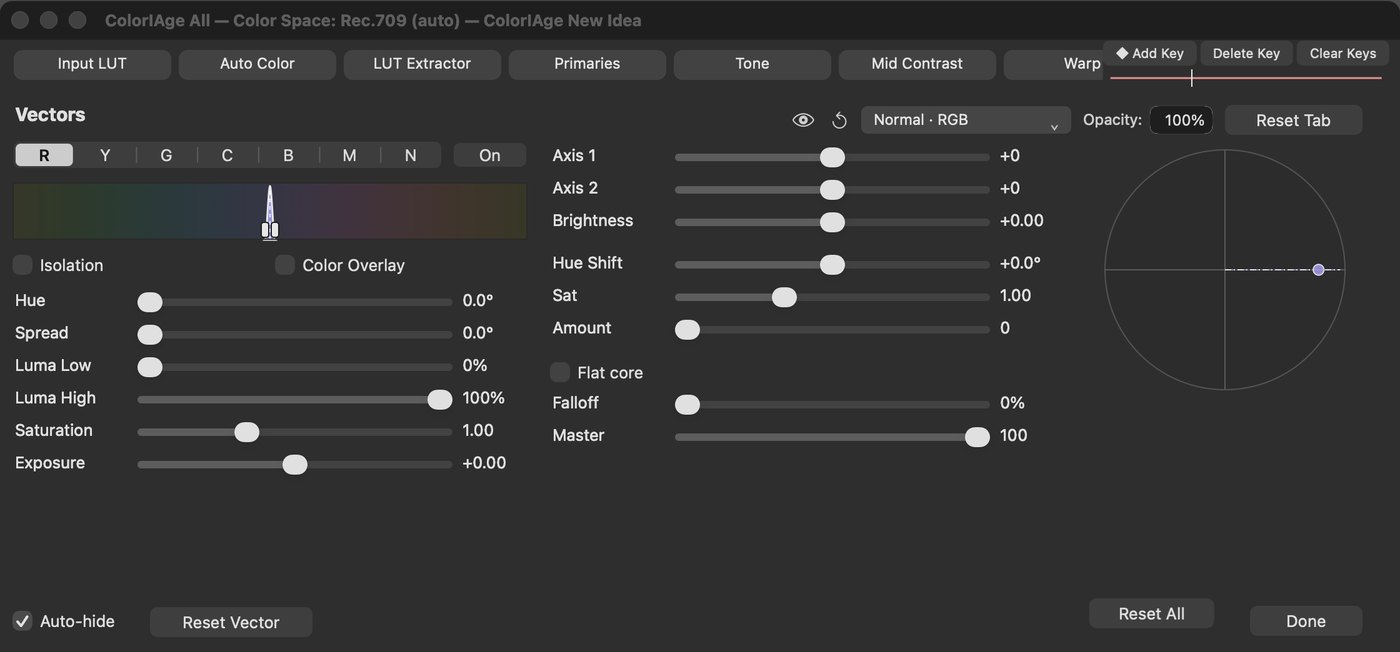
Pick a band of hues and push it.
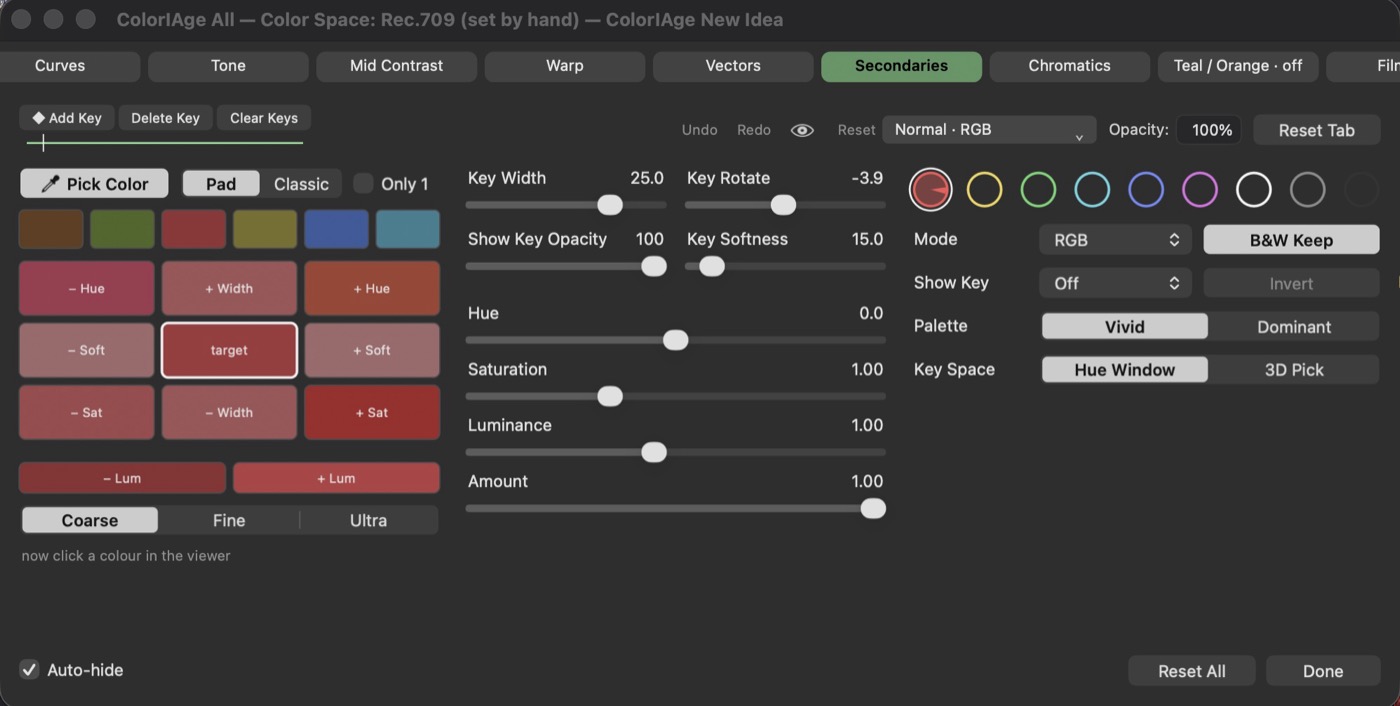
Nine sections: Red, Yellow, Green, Cyan, Blue, Magenta, Blacks, Neutrals, Whites.
Memory colours and film printer lights.
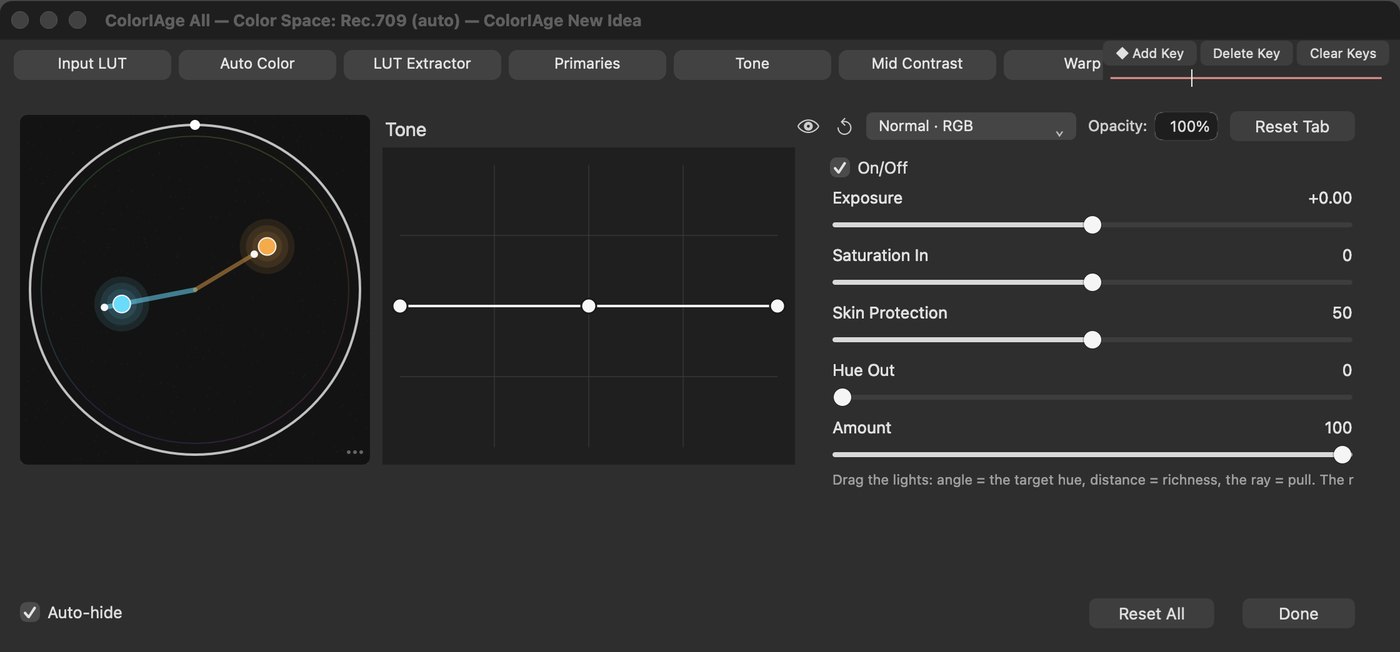
The blockbuster look: teal shadows, orange skin.
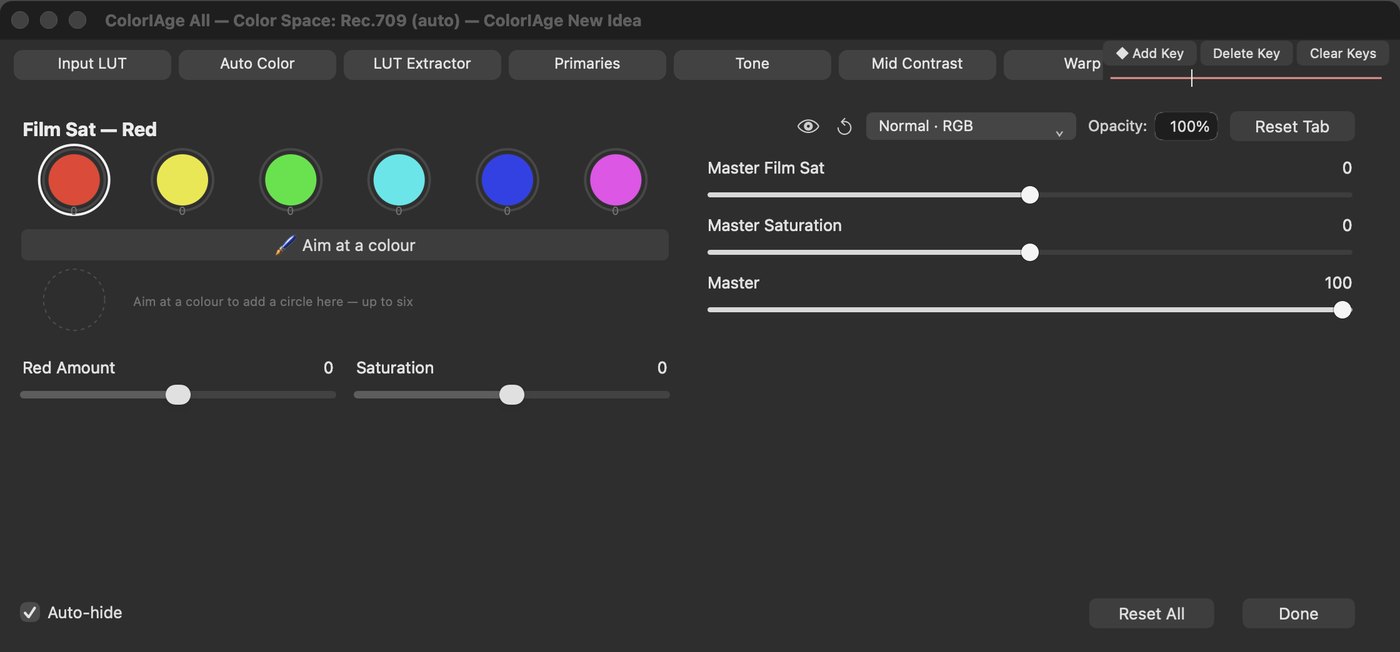
Saturation the way film dyes add it: richer colours also get darker.
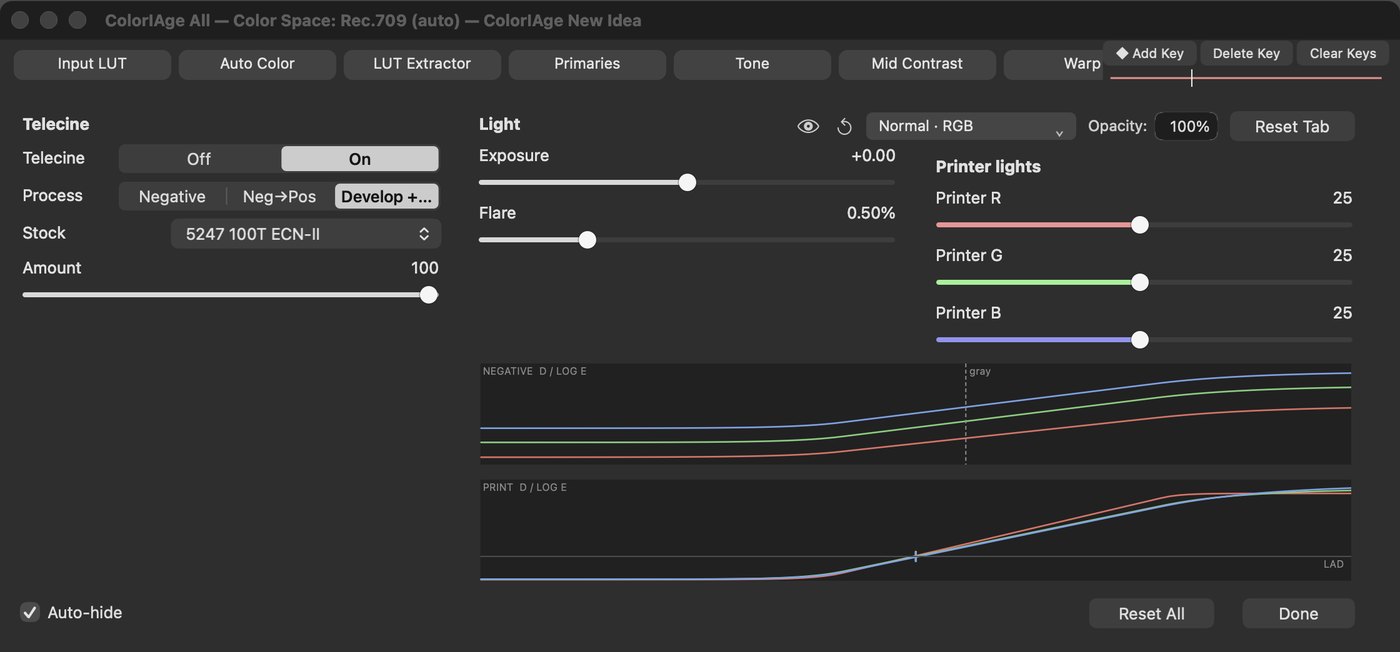
The 80s-90s film chain: a negative, developed and printed. Off by default - switch it On.
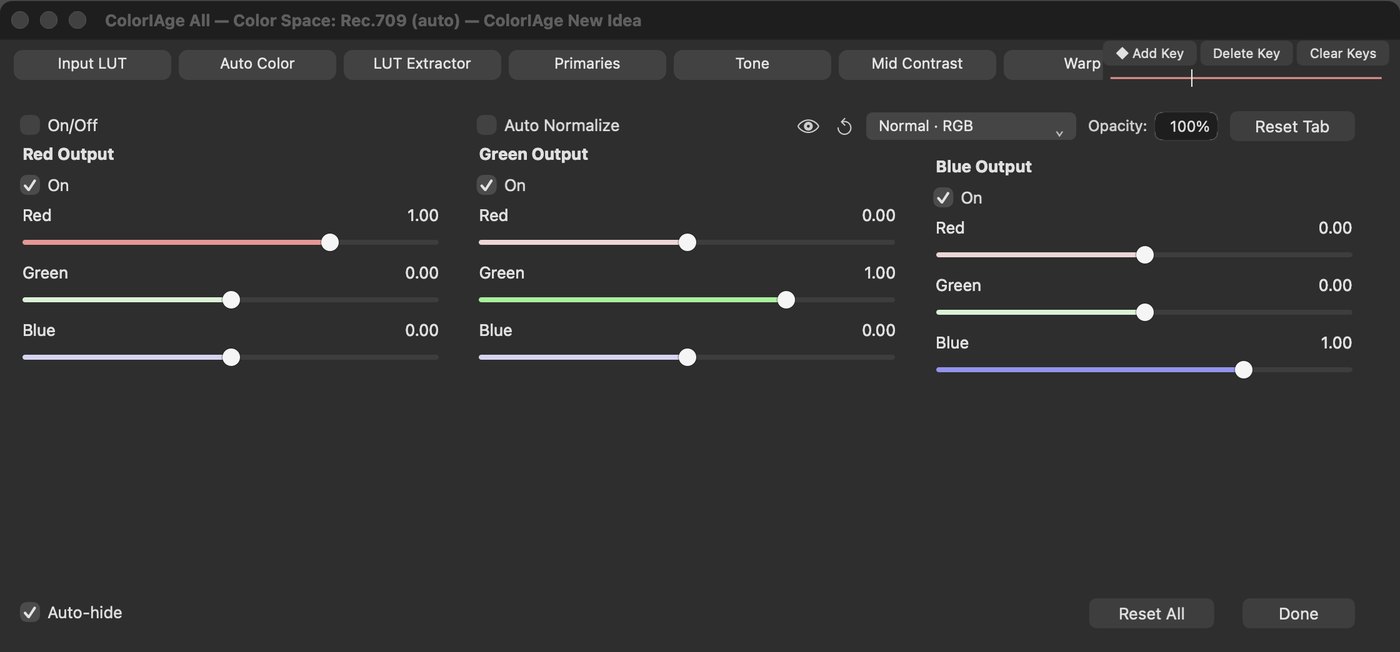
Channel mixer.
Project Settings › Color Management in Resolve. The green box = the TColor Color Science to set.